Getting your motorhome ready for spring starts with knowing how to de-winterize your Class B RV properly. Following a clear, step-by-step guide protects your systems, preserves your investment, and ensures you are road-ready for every new journey. Whether you own the Strada, the Terreno, or the Turismo, these proven steps apply to all models built with precision and luxury at their core.
Proper seasonal preparation is the key to reliable performance and uninterrupted adventures.
Meet the Grech RV Lineup
At Grech RV, we offer a distinctive range of Class B motorhomes, each crafted for excellence.
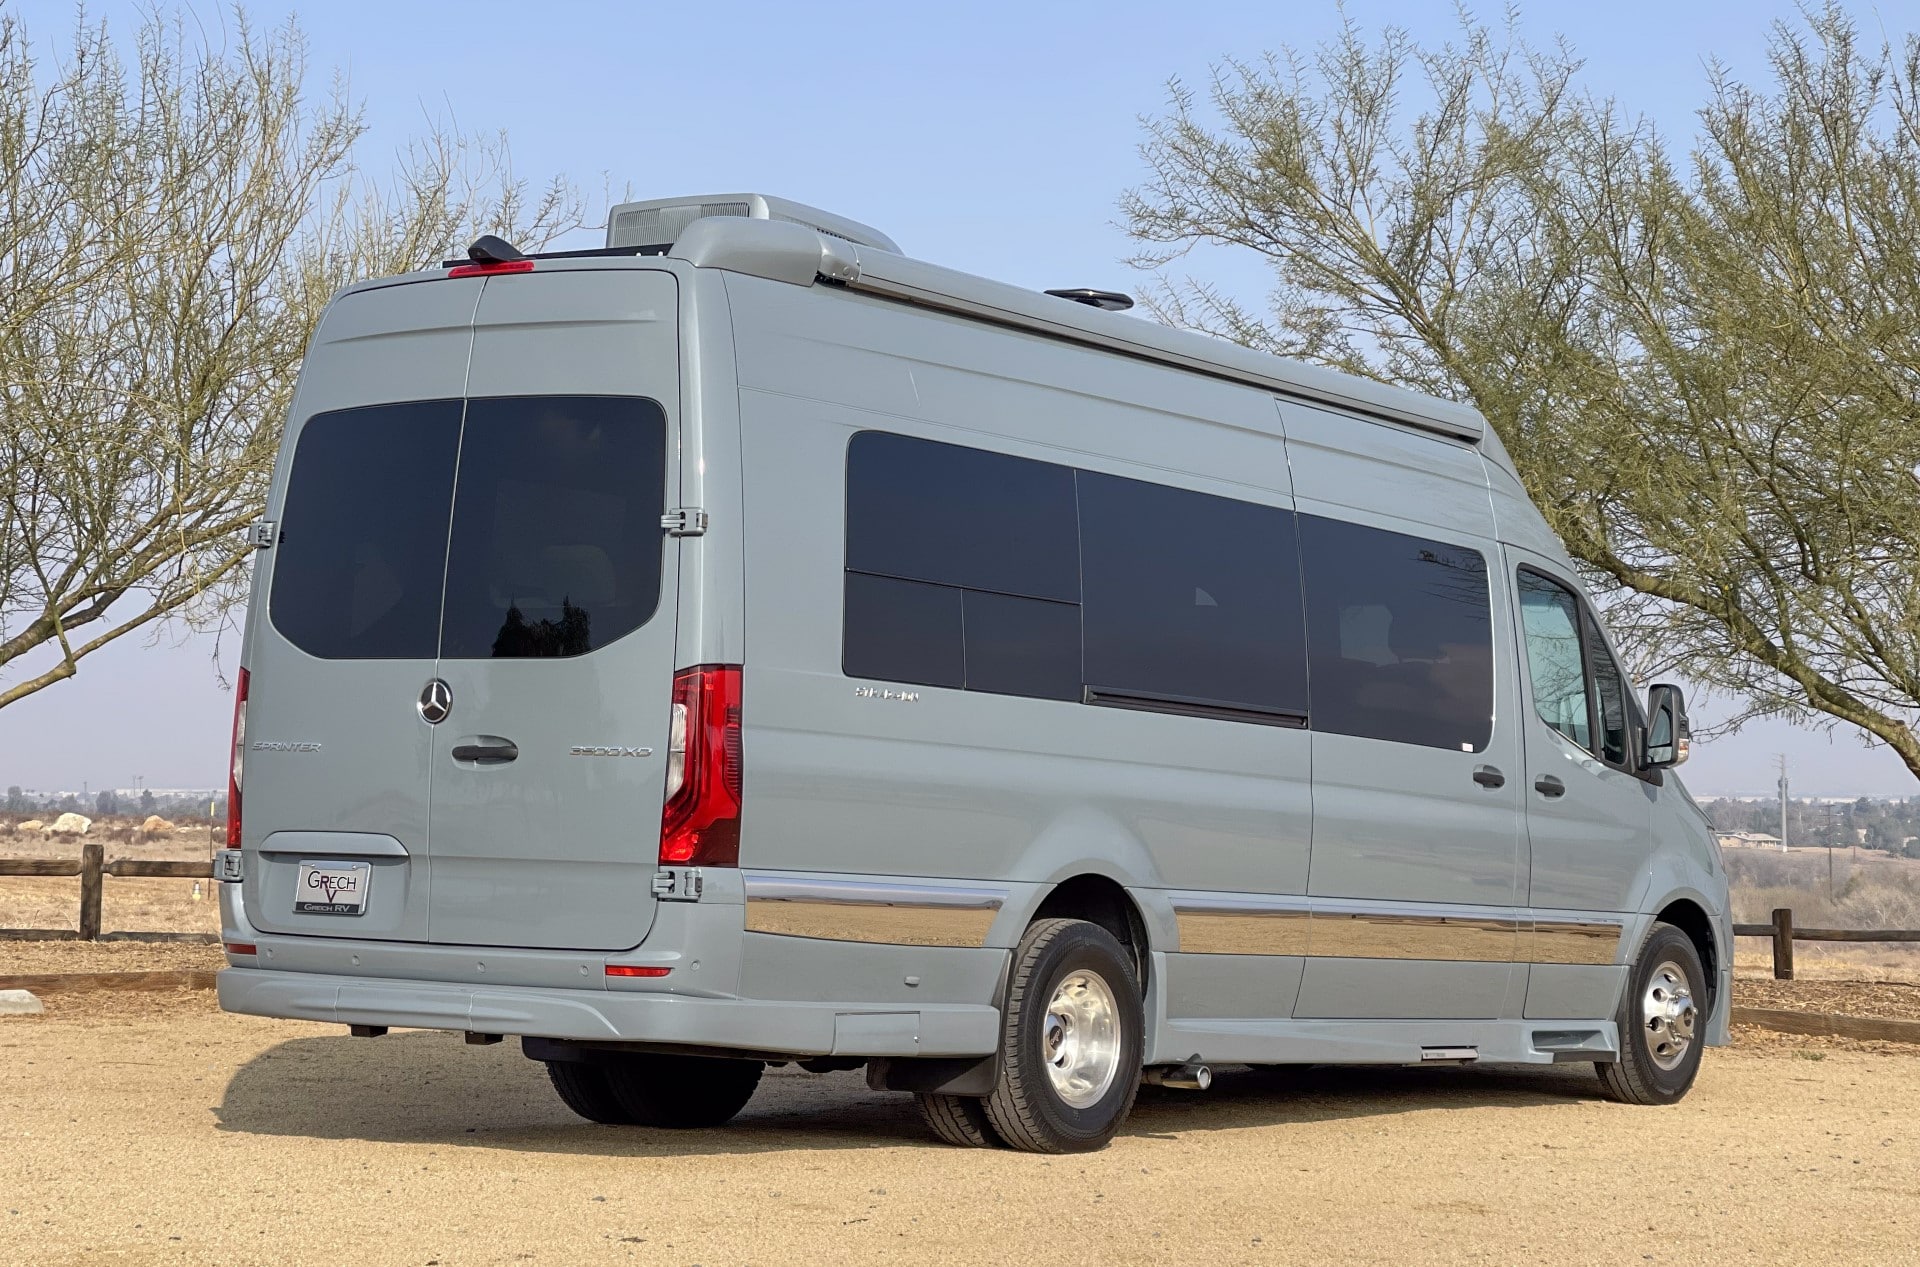
The Strada, our flagship Sprinter luxury camper van, elevates the Mercedes-Benz platform with remarkable quality, craftsmanship, and attention to detail. The luxurious amenities and functional features transform every trip into a refined experience. The Strada is built on the Mercedes-Benz Sprinter 3500XD 170” Extended High Roof with a 4-cylinder Diesel High Output engine and a 9-speed transmission.
The Terreno, our Class B luxury Sprinter camper van, offers the same exceptional quality and craftsmanship, matched with AWD capability. Built on the Mercedes-Benz Sprinter 3500XD 170” High Roof (non-extended), it delivers superior comfort across all terrains.
The Turismo offers refined luxury in a more agile package. Built on the Mercedes-Benz Sprinter 2500 144” chassis, it provides the same fit and finish as the flagship Strada, with a 4-cylinder Diesel High Output engine and 9-speed transmission.
Every Grech RV motorhome reflects a commitment to quality, reliability, and elevated design. Maintaining your Grech RV properly preserves its value and ensures countless adventures ahead.
What You’ll Need to De-Winterize Your Class B RV

Before you start, gather these supplies:
- Freshwater hose
- RV water pump sanitizer
- Household bleach
- Gloves
- Tire pressure gauge
- Basic tool kit
- Air compressor (optional)
Having everything ready will make the process quicker and smoother.
Step 1: Inspect the Exterior and Tires
Begin with a full exterior inspection. Look for any signs of cracking, damage, or water leaks around windows, seals, and doors.
Check tire pressure carefully. Tires often lose air during storage. Use a tire pressure gauge and inflate tires to the recommended PSI.
Inspect the tread for wear. If you see cracks, bulges, or worn tread, it’s time to replace them before your first trip.
Step 2: Test Batteries, Electrical, and Solar Systems
Reconnect your RV batteries if you removed them during winterization. Inspect them for corrosion and clean terminals if needed.
Test all electrical connections, outlets, and lighting systems. Check the charge level of lithium batteries and ensure your solar system is operating properly.
Run the Garmin control panel and confirm that systems are responding normally.
Step 3: Flush Antifreeze from the Water System
Connect your RV to a city water source using a clean freshwater hose. Open all faucets, showers, and toilets to flush out the antifreeze.
Run water until it flows clear from every tap. Don’t forget to flush the exterior shower, if equipped.
Turn off the water heater bypass valves and refill the hot water tank with fresh water.
Step 4: Sanitize the Freshwater System (Complete Guide)
Prepare a sanitizing solution using a quarter-cup of household bleach for every fifteen gallons of freshwater tank capacity.
Pour the solution into the tank. Run it through all faucets and fixtures, allowing it to fill the lines completely.
Let the solution sit for at least four hours, preferably overnight, to kill bacteria and residue.
Drain the system and refill with clean water. Run fresh water through all fixtures until no bleach smell remains.
Step 5: Check Appliances, HVAC, and Plumbing Systems
Turn on propane and check gas appliances, including the stove, water heater, and furnace.
Inspect the Gree air conditioning system to confirm it powers on and cools properly.
Test all plumbing components, including the wet bath, sinks, and macerator. Watch for leaks around fittings, tanks, and pumps.
Reinstall any water filters that were removed during winterization.
Step 6: Final Safety and Seal Inspection
Inspect all exterior seals, windows, and roof seams closely. Apply sealant where needed to prevent leaks during spring rainstorms.
Check your emergency equipment, including smoke detectors, carbon monoxide detectors, and fire extinguishers. Replace batteries if needed.
Confirm that your entry steps, awning, and stabilizers function smoothly and safely.
Need a Visual Guide? Watch Our Training Videos
For a better understanding of the de-winterization process, we invite you to view our training videos. These step-by-step tutorials provide helpful visual demonstrations covering flushing the water system, sanitizing procedures, battery checks, and appliance inspections.
You can watch the videos here:
- How to De-Winterize Your RV – Overview
- RV Water System Flushing & Sanitizing
- Complete Freshwater System Sanitization
These videos are an excellent companion to this guide and ensure you complete every step with confidence.
Final Steps Before Your First Spring Trip

Once everything is inspected, flushed, sanitized, and powered, take your RV for a short test drive.
Listen for unusual noises. Watch all gauges and monitors closely. Confirm that the air suspension system and brakes respond properly.
Completing a spring test drive helps catch minor issues early and ensures your RV is ready for longer journeys.
Start Your New Season of Adventures with Grech RV
Your Grech RV is built to deliver exceptional performance, luxury, and reliability. Proper de-winterization protects your investment and ensures unforgettable adventures.
We invite you to explore our current inventory, contact our team at SalesrechRV.com or 855-994-7324, or visit us at Arlington Ave, Riverside, CA 92504.
Let the journey begin—with Grech RV, you are always ready for the road ahead.